

Gather the sweet treats
Start by selecting the core sweets that will anchor your dessert board. The goal is to create a visual narrative of the ocean, using colors and textures that evoke the sea. Think in terms of blues, whites, and golds, with occasional splashes of coral pink or sandy beige. Variety is key; you want a mix of crunchy, chewy, and creamy elements to keep every bite interesting.
Choose treats that naturally fit the maritime theme. Blue velvet cupcakes, white chocolate-dipped pretzels, and gold-leafed macarons are excellent choices. For a more playful touch, include mermaid-themed cookies or sea star-shaped candies. If you want to lean into the "Sweet Sea" nostalgia, consider incorporating classic 80s-style candies or toys that reference the beloved mermaid character. The key is to balance sweetness with visual impact.
Don't forget about the base layer. Use a large wooden board or a slate platter to provide a neutral canvas that lets the colors of the sweets pop. Arrange the treats in clusters rather than rows to create a natural, flowing look. This method mimics the organic movement of waves and makes the board feel abundant and inviting.

Arrange the base layer
Start with the dessert board. The theme is the center of gravity. Everything else supports this visual anchor. Place your largest platter or board in the middle of the table. This is the foundation. Stability matters more than decoration at this stage.
Place your main decorative element or figurine in the exact center of your board. This establishes the visual anchor for the entire arrangement. Ensure it is stable and won't tip over when guests reach around it. This item dictates the flow of all other elements.
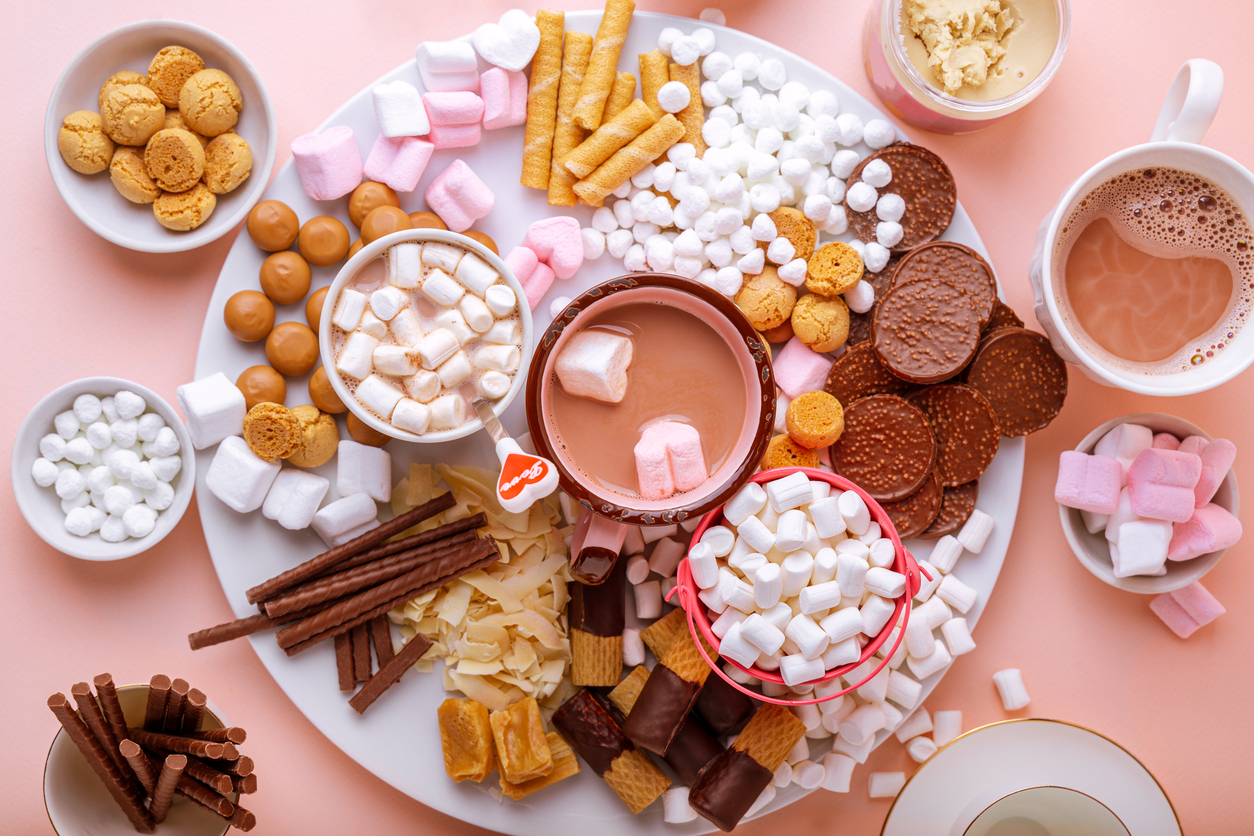
Arrange the biggest bowls, plates, or stands around the centerpiece. These hold heavier items like cake slices or fruit platters. Distribute them evenly to create a balanced look. Leave enough space between them for easy access. The goal is a circular flow around the center.
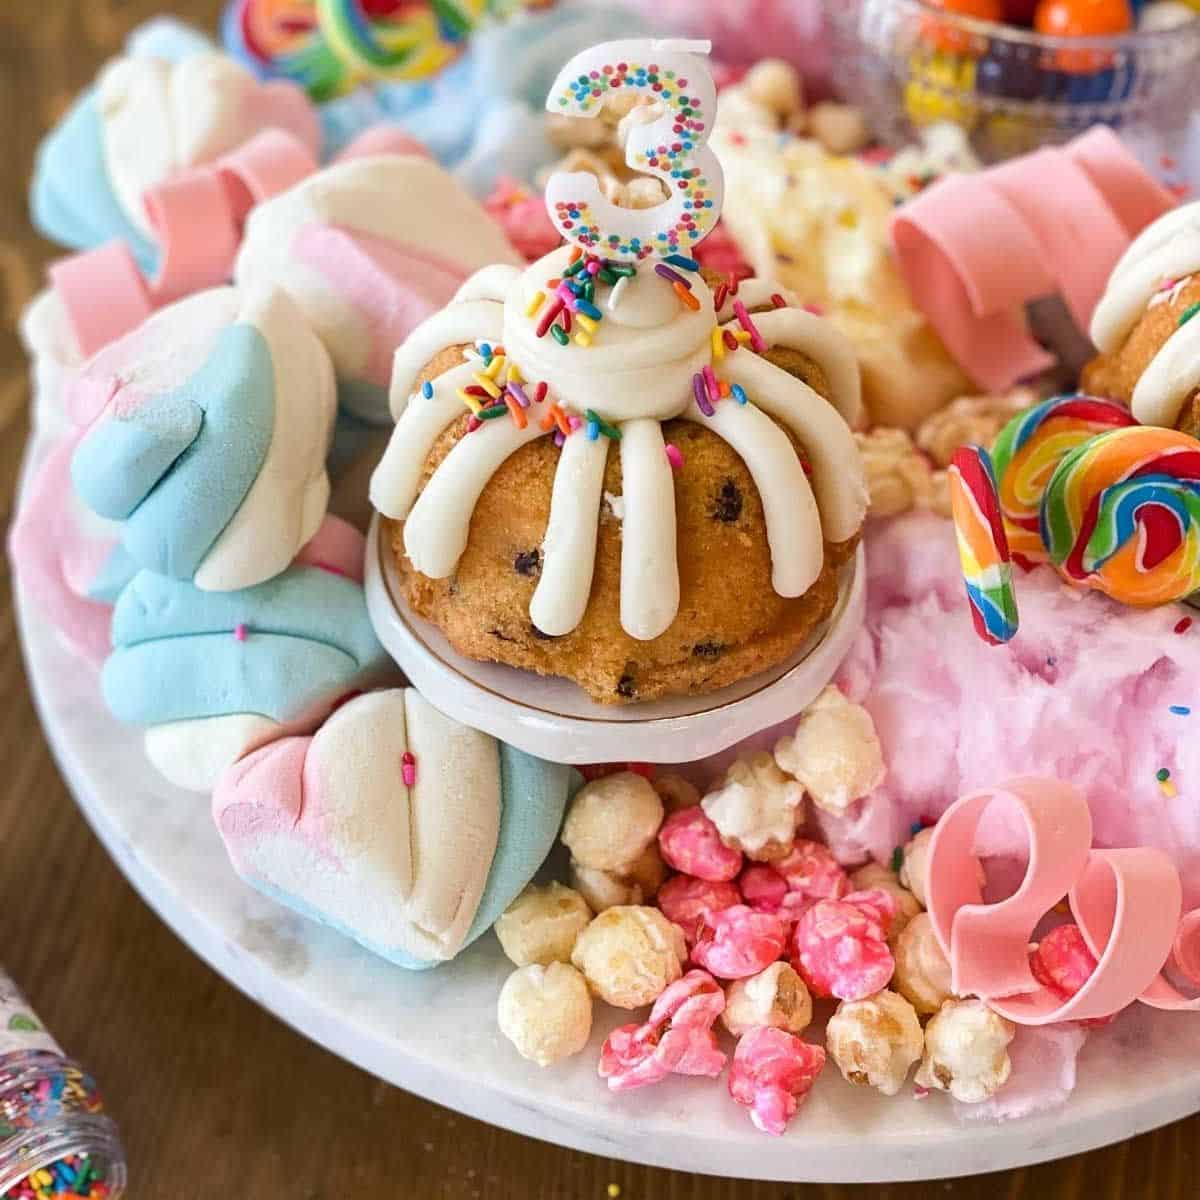
Add smaller plates or dishes that hold cookies, brownies, or pastries. Fill the gaps between the large vessels. Keep the height variation moderate. You want a tiered effect, but not so cluttered that items are hidden. Ensure each plate is secure and won't slide during serving.
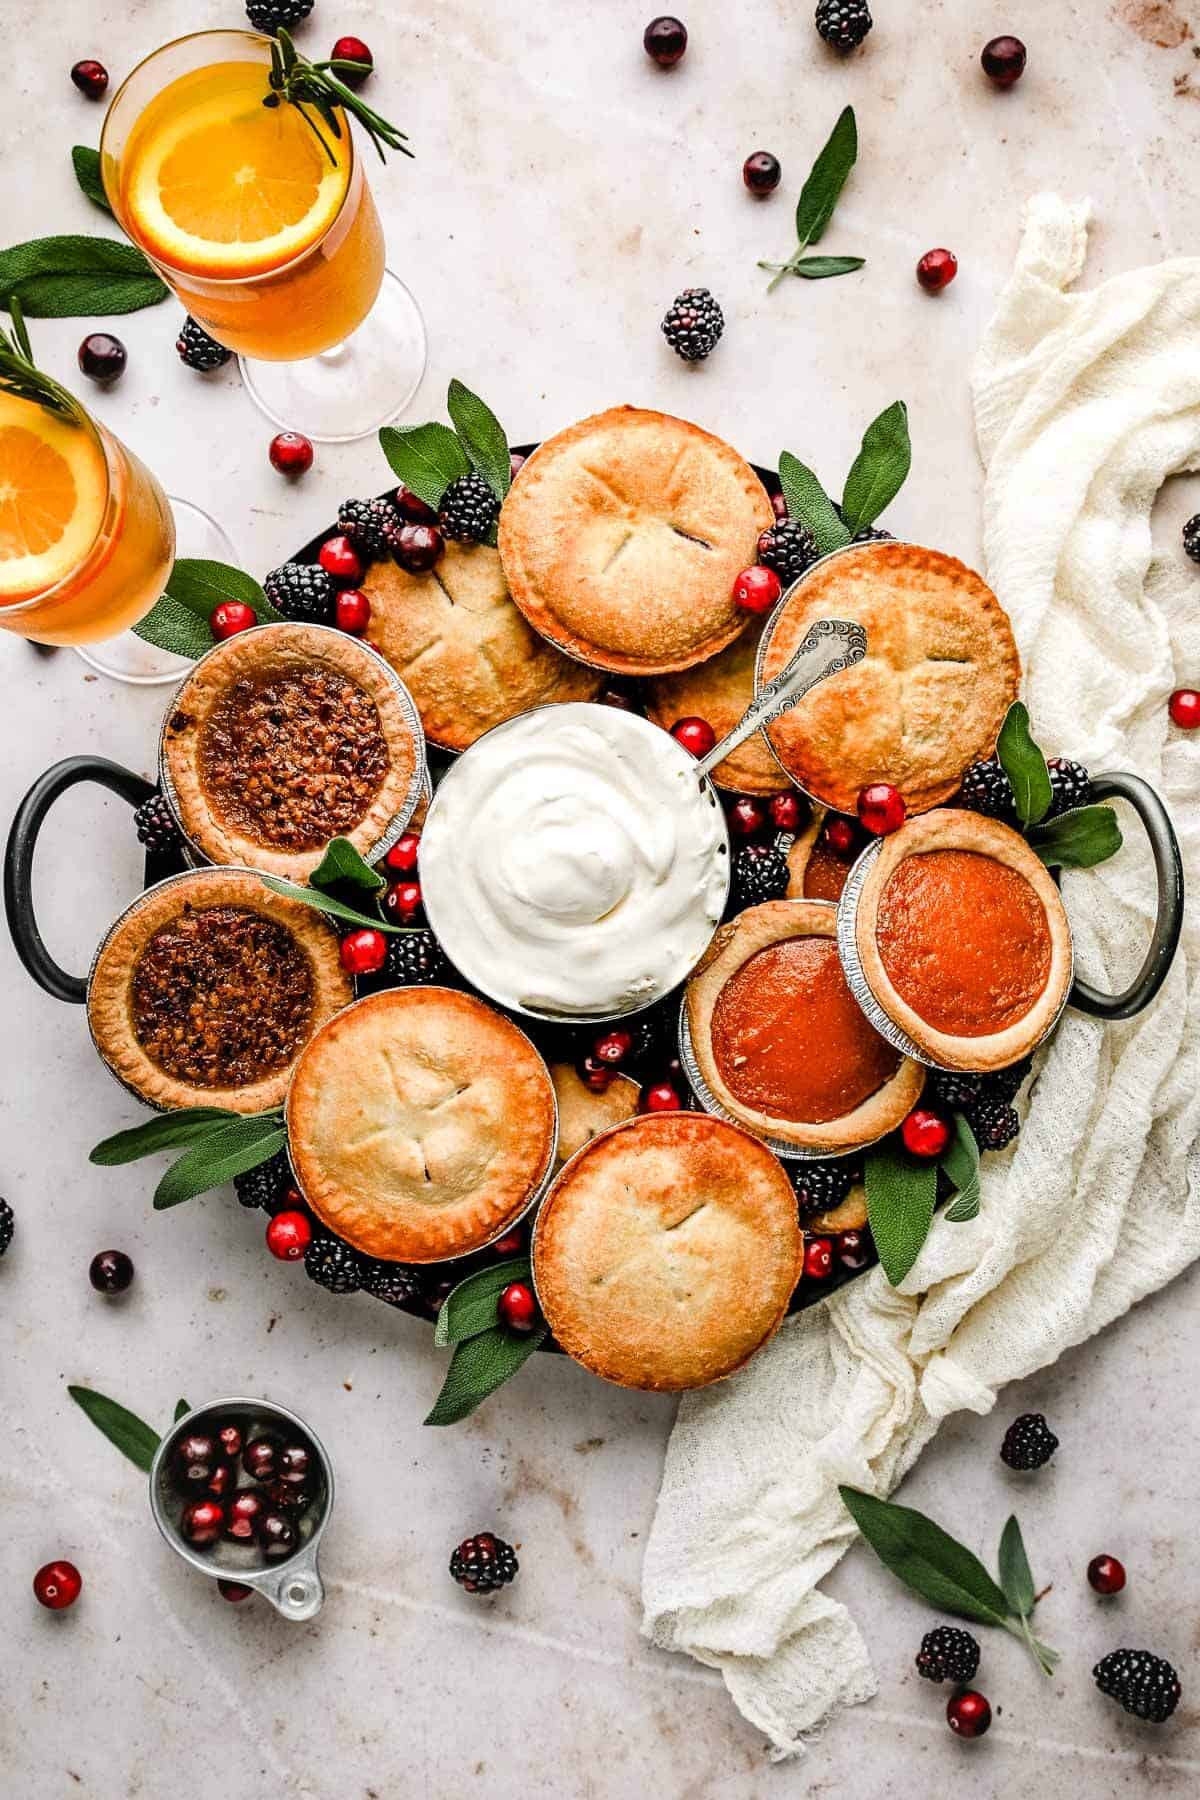
Place tiny bowls for dips, sauces, or small candies in the remaining empty spaces. These are the finishing touches. Use them to add pops of color or texture. Ensure they are small enough not to overwhelm the larger items. This layer adds detail and complexity to the base layout.
Check your work from a distance. The central figure should still be the focal point. Adjust any items that look crowded or unbalanced. The base layer should feel sturdy and inviting. Once this foundation is set, you can add the final decorative touches.
Add height and texture
A flat dessert board looks like a still life painting—pleasant, but static. To make your dessert board feel alive, you need to introduce verticality and varied surfaces. Think of the board as a miniature coastal landscape: you need dunes, cliffs, and rocky outcrops to guide the eye and create a sense of place.
Start by building your foundation with standing items. Use small bowls, ramekins, or even stacked books covered in decorative paper to elevate dips and sauces. Place these at the back or corners of the board to create a backdrop. This ensures that the "Sweet Sea" theme remains the center of gravity, with supporting elements framing rather than flattening the main attraction.
Next, introduce texture through your choice of treats. Combine smooth, glossy items like glazed donuts or frosted cupcakes with rough, crunchy elements like pretzel rods, biscotti, or crushed cookie crumbs. The contrast between soft marshmallows and hard candied nuts mimics the interplay between calm water and rocky shores. Scatter these textures loosely rather than arranging them in rigid rows to maintain an organic, beach-combed aesthetic.
Finally, use garnishes to bridge the gaps. Fresh mint leaves, edible flowers, or white chocolate shards can fill empty spaces while adding a final layer of visual interest. This technique prevents the board from looking sparse and ensures every bite offers a different mouthfeel, keeping the experience dynamic from the first glance to the last crumb.
Fill the gaps with small bites
With the main figure anchored in the center, the board now has a clear focal point, but it likely still has empty spaces. This is the moment to add volume and texture using smaller items. Think of these gaps as the ocean floor around your central island; they need to be populated with details that complement the theme without overwhelming it.
Start by scattering small, bite-sized sweets that echo the sea motif. Gummy sharks, jellyfish-shaped candies, or blue-dyed popcorn work well here. If you have access to specific themed confections, look for items that reference the characters from the original 1985 series, such as Sea Star or Mudpuppy, to add a layer of nostalgia for fans. These smaller pieces bridge the distance between the main attraction and the board’s edges.
Next, introduce texture through nuts, pretzels, or crackers. A mix of salted peanuts or pretzel sticks adds a necessary savory contrast to the sugary gummies. Place these in small clusters or lines to create visual pathways that lead the eye back to the center. Avoid leaving large, empty patches of the board surface; even a few scattered candies or a small bowl of dip can make the arrangement feel abundant and intentional.
Finally, consider adding small bowls or ramekins for dips or sauces. A small dish of white chocolate dip or caramel sauce not only fills space but also invites interaction. Ensure these containers are stable and placed in corners or along the perimeter to keep the central area clear for the main figure. This final layer of detail transforms the board from a simple display into a complete, engaging experience.
Check your board
Before you invite guests to the table, treat the board like a ship setting sail: it needs to be stable, balanced, and ready for the journey. The theme should act as the center of gravity, anchoring the entire spread so the visual narrative holds together.
First, inspect the structural integrity. Ensure that heavy items like the mermaid figurine or dense chocolate blocks are placed on sturdy bases or nestled into the board’s surface so they don’t tip. Check that all liquids, such as honey or caramel drizzles, are in sealed or wide-mouthed containers that won’t spill during transport. A wobbly board ruins the experience before the first bite.
Next, verify the flavor balance. Taste-test the arrangement to ensure there is a mix of sweet, salty, and crunchy elements distributed evenly. The theme shouldn’t just be decorative; it should guide the palate. If you have too many soft chocolates, add more nuts or crisp cookies to provide texture contrast. Adjust the spacing so there is breathing room between items, making it easy for guests to grab what they want without knocking over the theme.
Finally, do a visual sweep. Look at the board from the serving angle to ensure the main character pieces are visible and not hidden behind smaller snacks. Wipe any stray crumbs or smudges from the board’s edge. Once the board is stable, balanced, and visually striking, it is ready for serving.
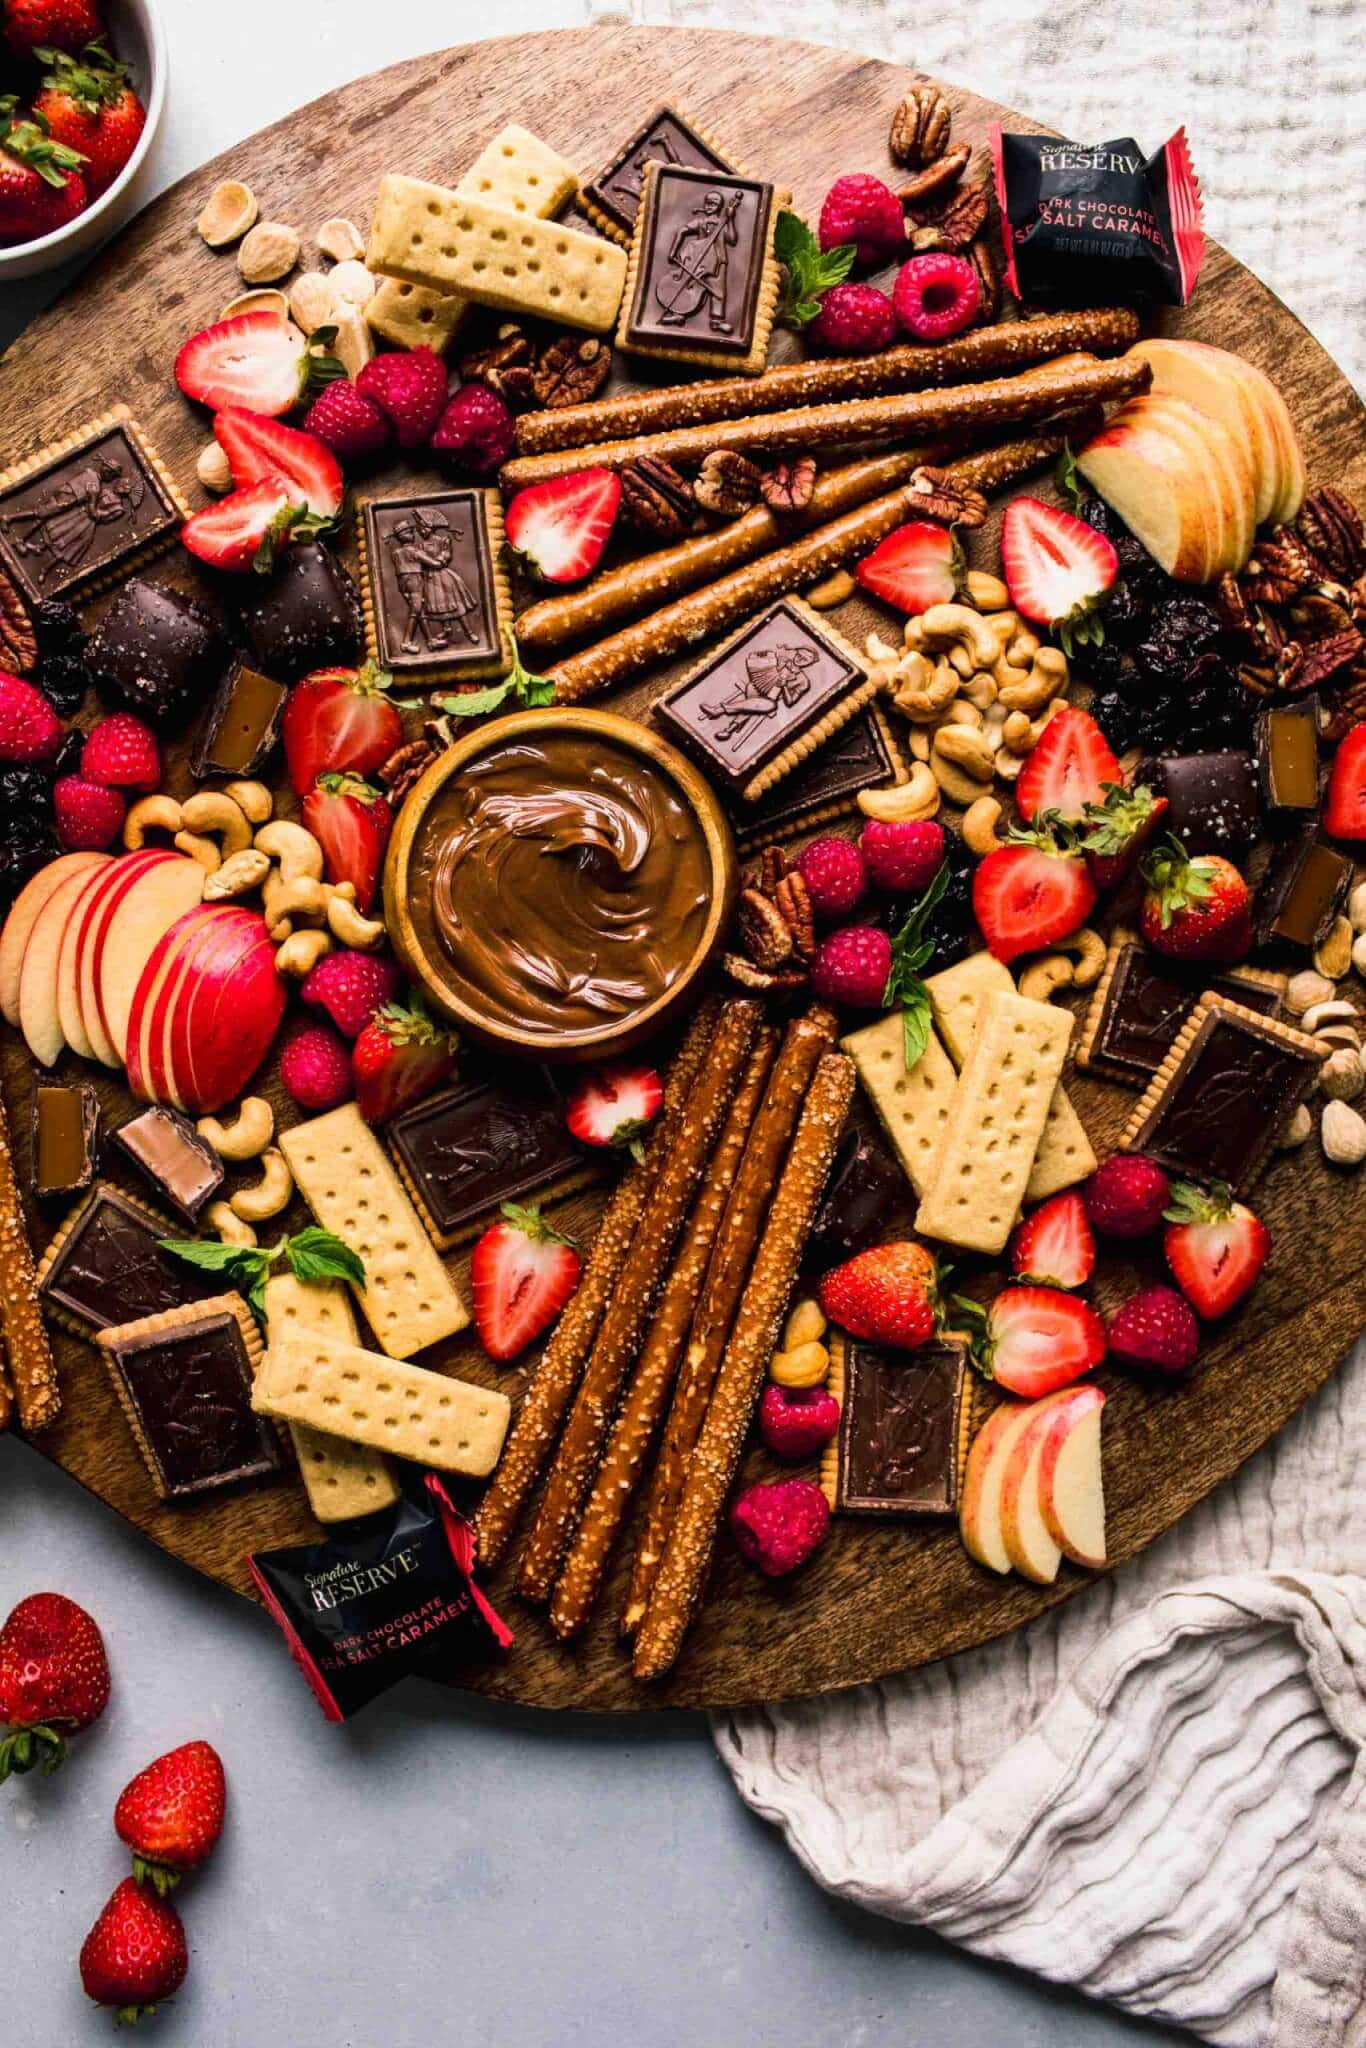
-
Board is level and stable
-
Heavy items are secured
-
Flavor balance is even
-
Visual theme is prominent
-
Edges are clean and clear
No comments yet. Be the first to share your thoughts!